Appearance
Using WebP Image Format
WebP is a next-generation image format developed by Google. With comparable visual quality, its file size is approximately 34% smaller than traditional JPEG/PNG formats, which effectively reduces page loading times.
Method 1: Configure MIME Type via web.config
- Connect to the website root directory via an FTP client.
- Back up the current
web.configfile so you can roll back if issues occur. - Add the following configuration to the
<system.webServer> <staticContent>node inweb.config:
xml
<remove fileExtension=".webp" />
<mimeMap fileExtension=".webp" mimeType="image/webp" />- Refresh the website page to verify the configuration is working. If the page shows an error, restore the backup file from step 2.
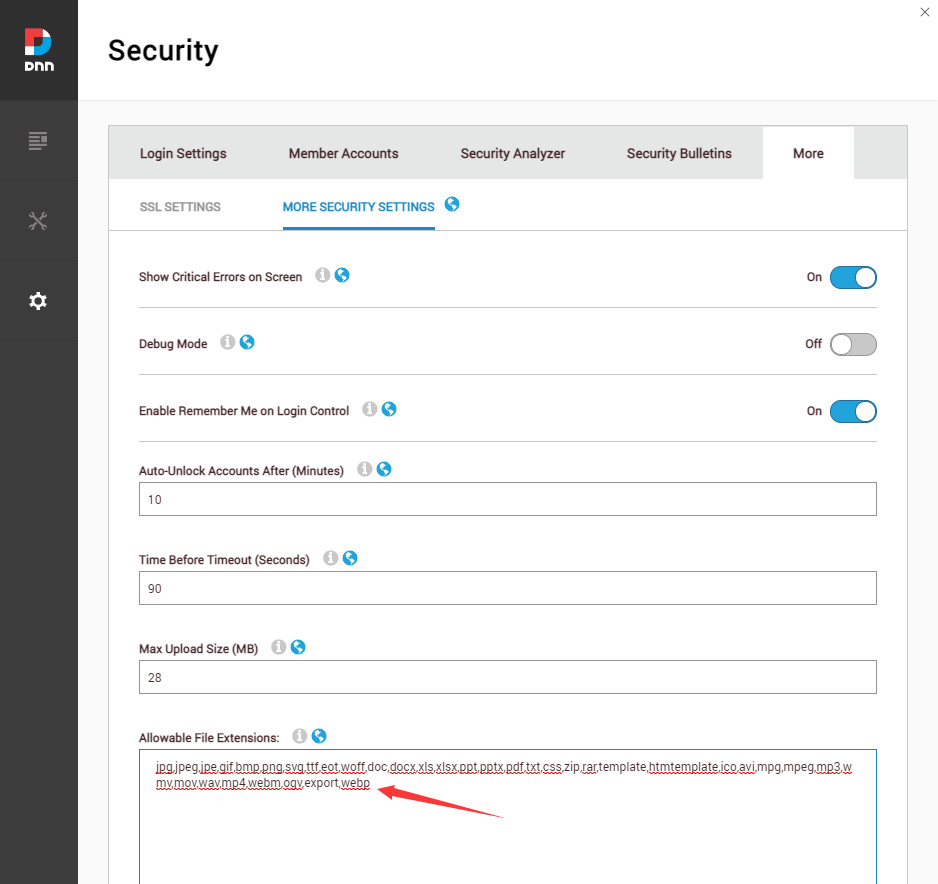
- Log in to the website with an administrator account, go to Settings > Security, and append the
WebPextension to the Allowable File Extensions field.
Method 2: Add MIME Type via IIS Manager
- Open IIS Manager on the server.
- Select the target site in the left connection tree.
- Double-click MIME Types in Features View.
- Click Add in the right Actions panel.
- Fill in the following information in the dialog:
- File name extension:
.webp - MIME type:
image/webp
- File name extension:
- After completing the above steps, you also need to add the
WebPextension in Settings > Security > Allowable File Extensions.
Converting Existing Images to WebP
We recommend using an online tool to batch convert image formats:
- Visit CloudConvert JPG Converter.
- Upload the JPG or PNG images you want to convert.
- Select WebP as the output format.
- Download the converted results and replace the original image files on your website.